Build one

Hapkit Labeled

At this time, we are not able to distribute complete Hapkits to the public. However, you can build your own Hapkit if you would like purchase the components and have access to the necessary tools. You can modify the design to enable use of whatever prototyping facilities you have available. If you have any questions, please contact us, and we will try to respond as soon as possible. (If you are taking the Online Haptics Class, please post to the discussion forum there -- you will get a faster response!)

Hardware

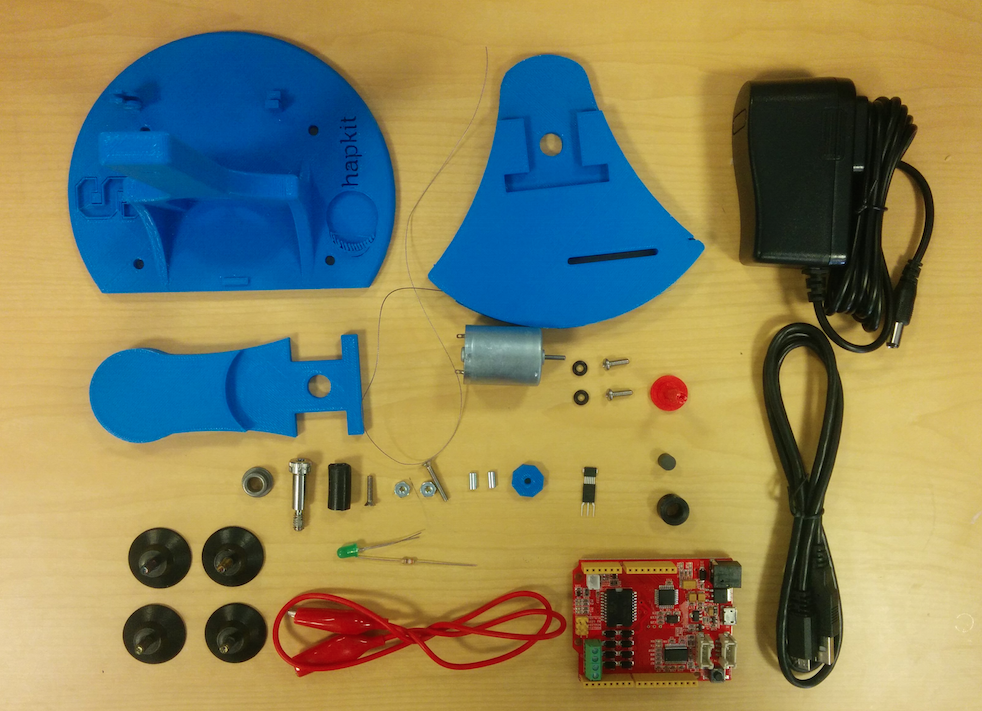
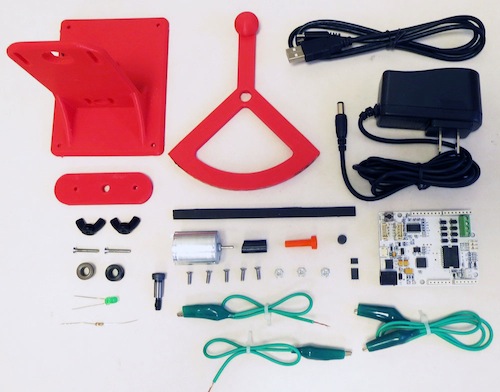
There are three versions of the Hapkit: the original laser-cut acrylic Hapkit (Hapkit 1.0 from 2013), the first 3-D printed Hapkit (Hapkit 2.0 from 2014) and the new 3-D printed Hapkit (Hapkit 3.0 as of November 2015). Either of these may be used, but the 3-D printed Hapkits have fewer parts, use a much less expensive motor, and have been more recently vetted. If you are taking the Online Self-Paced Haptics Class, we encourage you to use Hapkit 2.0 or Hapkit 3.0. The information for each of these Hapkits is below:

Hapkit 3.0 (3-D printed, 2015)
Hapkit 3.0 (3-D printed)
  • Parts list: Here is a parts list with purchase information.
  • STL files for 3D printing: Click here to download a zip file of Hapkit STL Files. Note: Model units are in mm.
  • Modifiable SolidWorks files: Click here to download a zip file of Hapkit SolidWorks Files. Note: These are only for use with the SolidWorks CAD program. We are working on creating/checking an open file format.
  • 3D printing tips: Here are 3D printing tips for creating your 3D-printed Hapkit parts.
  • Assembly instructions: Here are instructions for assembling your Hapkit into a functional haptic device.
  • Assembly video: We do not have an assembly video yet for the 2015 3-D printed Hapkit, but Step 4: Attach parts to Hapkit frame -- 0:08:35 in the laser cut Hapkit assembly video may be useful.
  • Hapkit 2.0 (3-D printed, 2014)
    Hapkit 2.0(3-D printed)
  • Parts list: Here is a parts list with purchase information.
  • STL files for 3D printing: Click here to download a zip file of Hapkit STL Files. Note: Model units are in mm.
  • Modifiable SolidWorks files: Click here to download a zip file of Hapkit SolidWorks Files. Note: These are only for use with the SolidWorks CAD program. We are working on creating/checking an open file format.
  • 3D printing tips: Here are 3D printing tips for creating your 3D-printed Hapkit parts.
  • Laser-cut sector pulley: DXF file if you want to laser-cut instead of 3D-print your sector pulley for the 2014 Hapkit design. (Units in this file are in mm, and the tick marks need to be scored, not cut al the way through.)
  • Assembly instructions: Here are instructions for assembling your Hapkit into a functional haptic device.
  • Assembly video: We do not have an assembly video yet for the 2014 3D printed Hapkit, but Step 4: Attach parts to Hapkit frame -- 0:08:35 in the laser cut Hapkit assembly video may be useful.
  • Customizing your 3D printed Hapkit parts: Coming soon (November)
  • Hapkit 1.0 (Laser-cut original, 2013)
    Hapkit 1.0 (laser cut)
  • Parts list: Here is a parts list with purchase information. (Please note: Since this design is from 2013, some of these parts may no longer be available from the suppliers listed, especially at the listed price.)
  • CAD files: Click here to download a zip file of Hapkit Solidworks and DXF Files. (If your web browser thinks this is a text file, right-click on the link, download to a file, then remove ".txt" from the file name if necessary.)
  • Assembly instructions: Here are instructions for assembling your Hapkit into a functional haptic device.
  • Assembly video: You can use these instructions along with this step-by-step video. If you want to jump to a particular step, here are the times to look for:
    • Step 1: Check Hapkit -- 0:00:37
    • Step 2: Assemble Hapkit frame -- 0:01:02
    • Step 3: Assemble Hapkit sector pulley -- 0:05:00
    • Step 4: Attach parts to Hapkit frame -- 0:08:35
    • Step 5: Set up Hapkit electronics -- 0:14:47
  • Electronics

    Hapkit

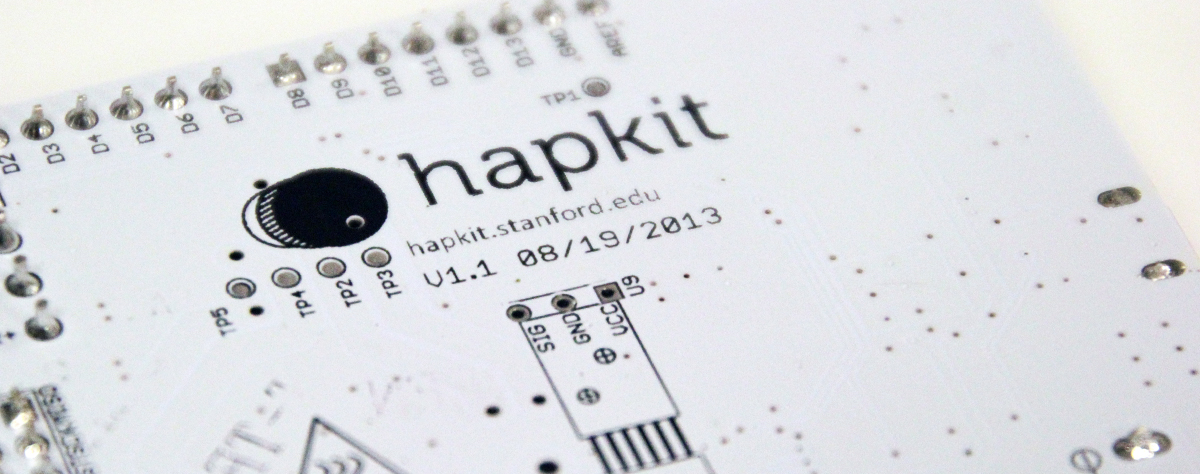
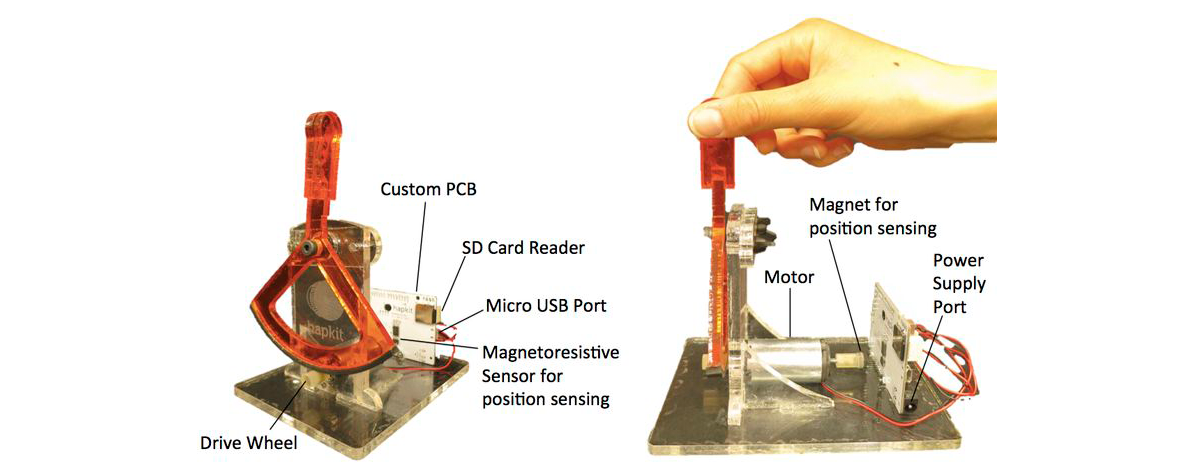
    We worked closely with Seeed Studio, an open hardware facilitation company, to design an all-in-one controller board. This custom PCB is approximately the size of an Arduino Uno and includes a microcontroller, motor driver/amplifier, Micro SD card port for recording data (you'll need to buy an SD card if you want to use this), Hapkit-specific sensor connections, as well as other digital and analog lines. The Hapkit board is now available for purchase from Seeed. Note that Seeed sells just the board, not the entire Hapkit.

    You can also make your own PCB using Seeed's design as a starting point (see these files, which can be viewed with CadSoft EAGLE PCB design software). Or you can use a combination of a standard Arduino, motor driver shield (such as the Ardumoto board), and circuitry (for the sensors). The Hapkit hardware has been specifically designed to fit the Seeed Hapkit PCB, especially since the MR sensor is mounted on the board.

    Software

    Hapkit

    We provide this Arduino code to get you started programming haptic virtual environments with your Hapkit. The virtual environments rendered (a virtual wall, a spring, a damper, and a texture) can be changed by uncommenting the appropriate lines of code in "Section 3". The code provided also includes code for reading values from the FSR and computing the measured handle force in Newtons. However, if you do not have a FSR, then this code can simply be ignored or commented out.

    Customization

    Hapkit

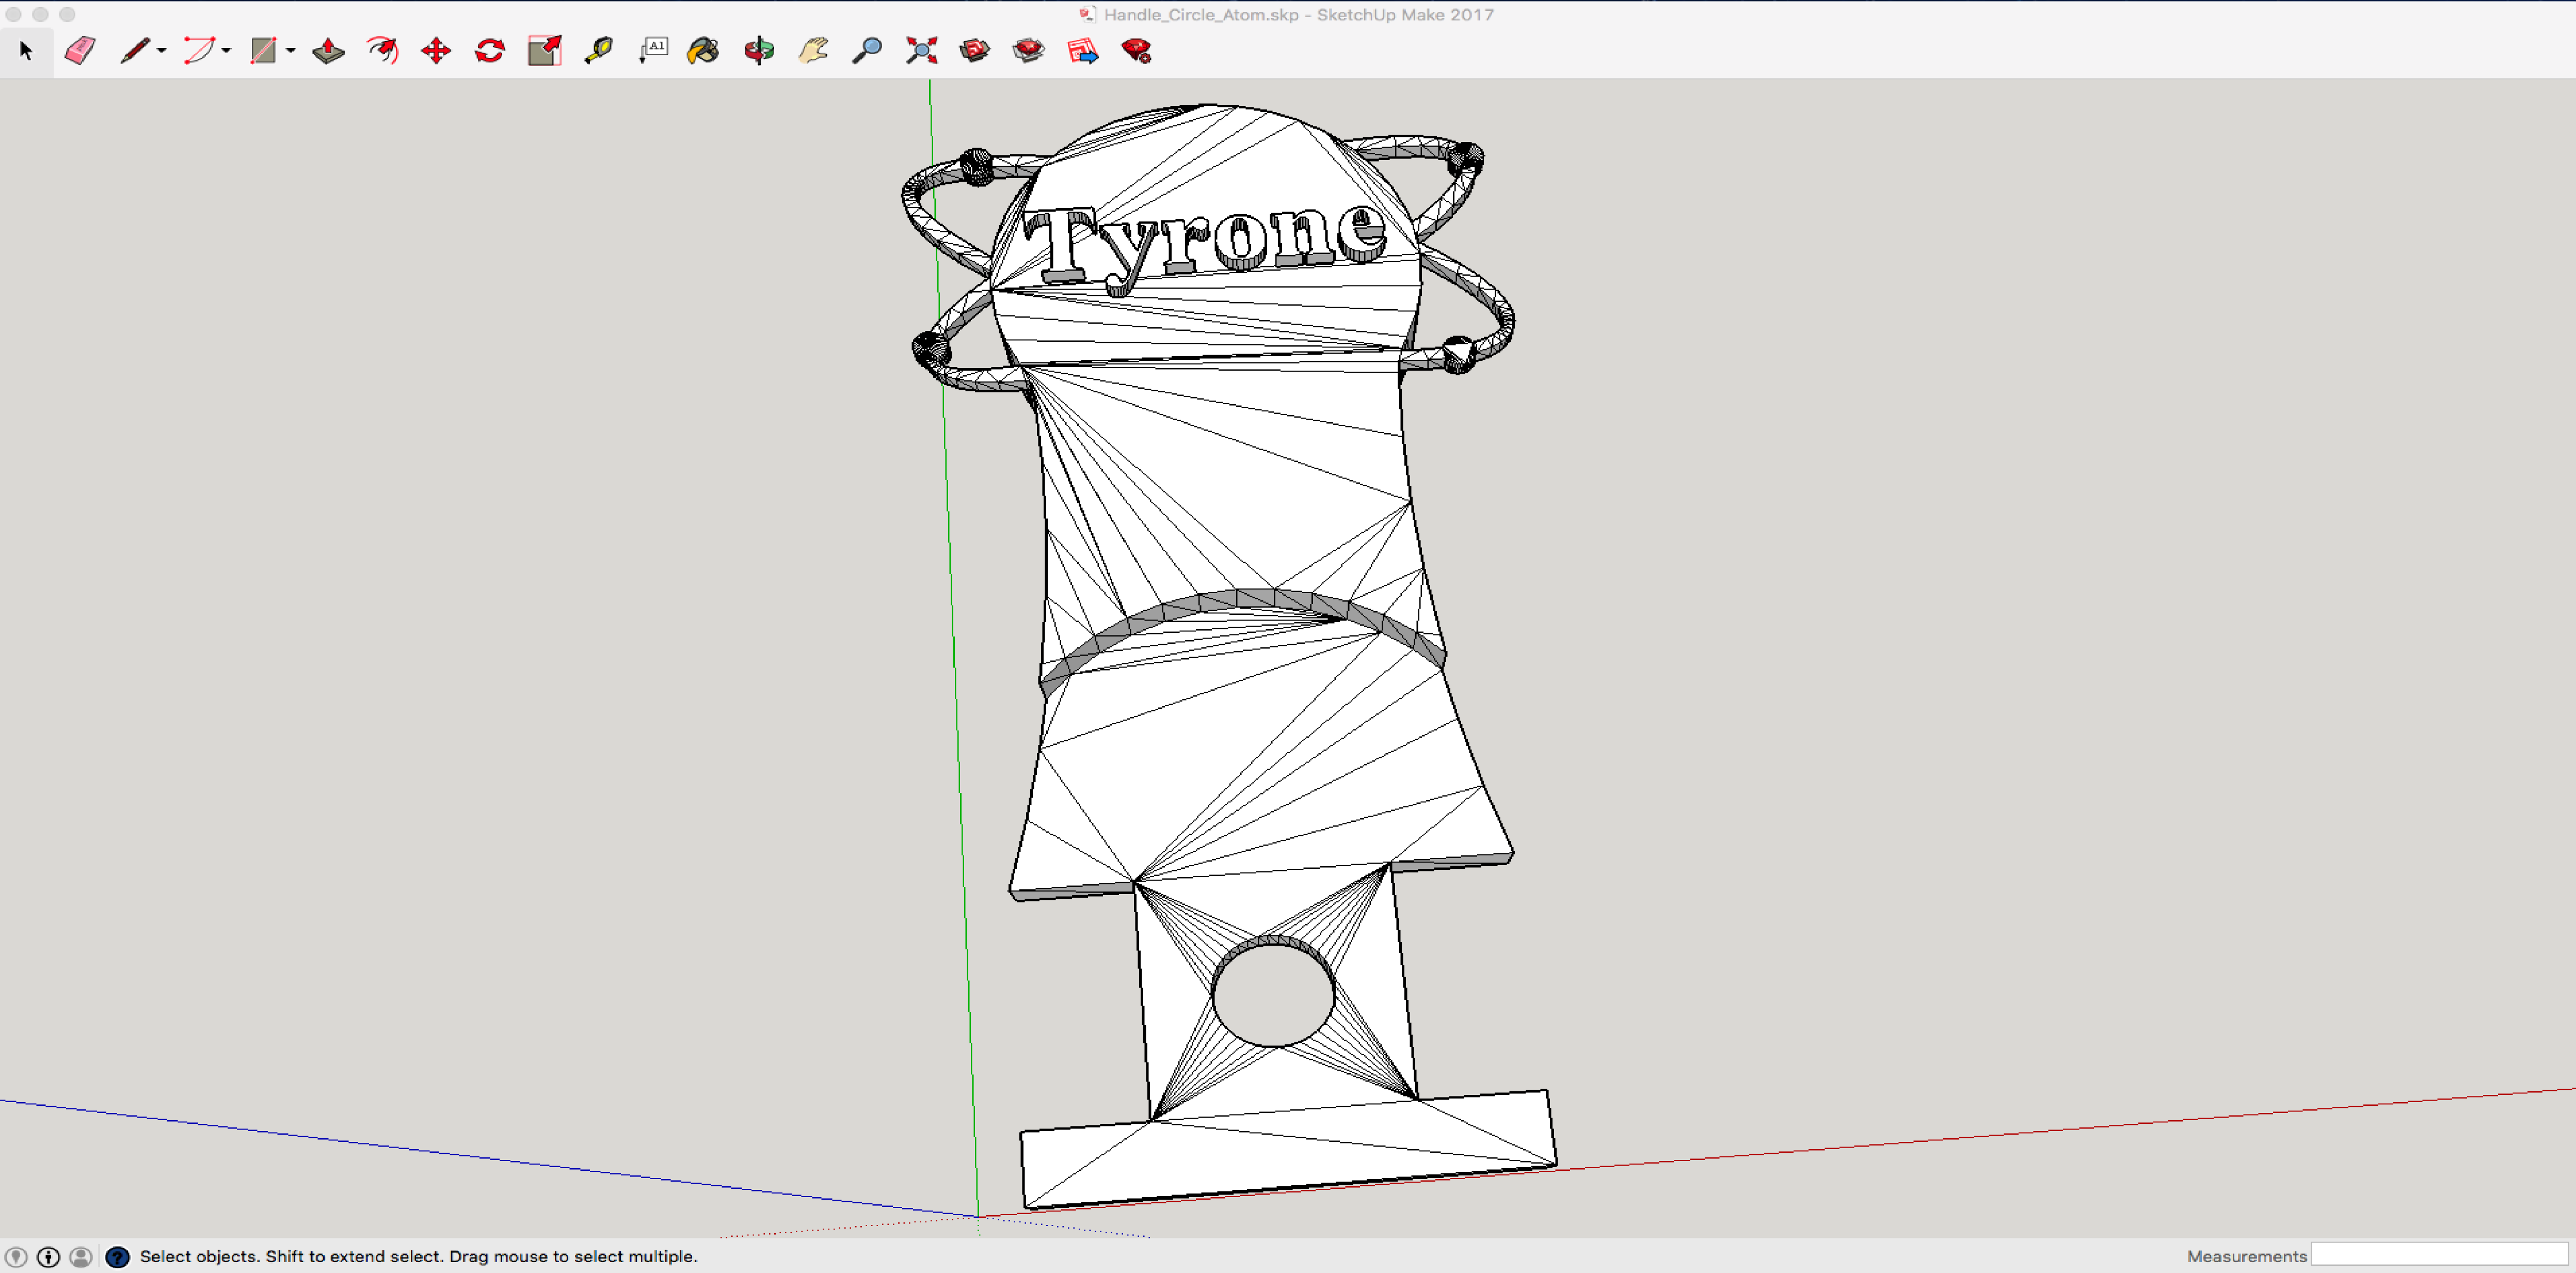
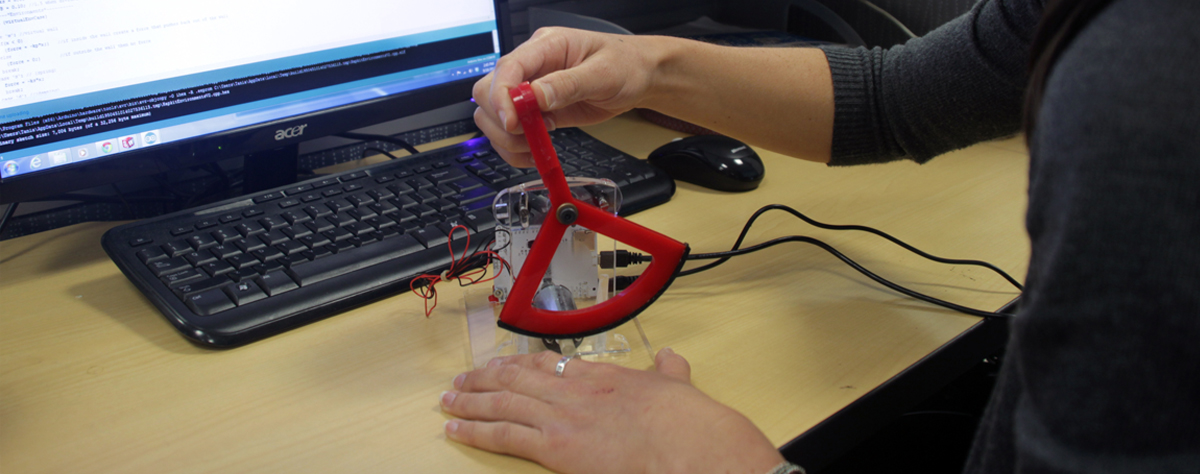
    We designed this customization process to get you started in personalizing your 3-D printed Hapkit. The process is for SketchUp which is free for K-12 students and educators. Some basic handle designs which are a great starting point can be found here.